- TechOps Examples
- Posts
- Docker Container Images Lazy Loading Explained
Docker Container Images Lazy Loading Explained
Good day. It's Wednesday, Sep. 11, and in this issue, we're covering:
Docker Container Images Lazy Loading Explained
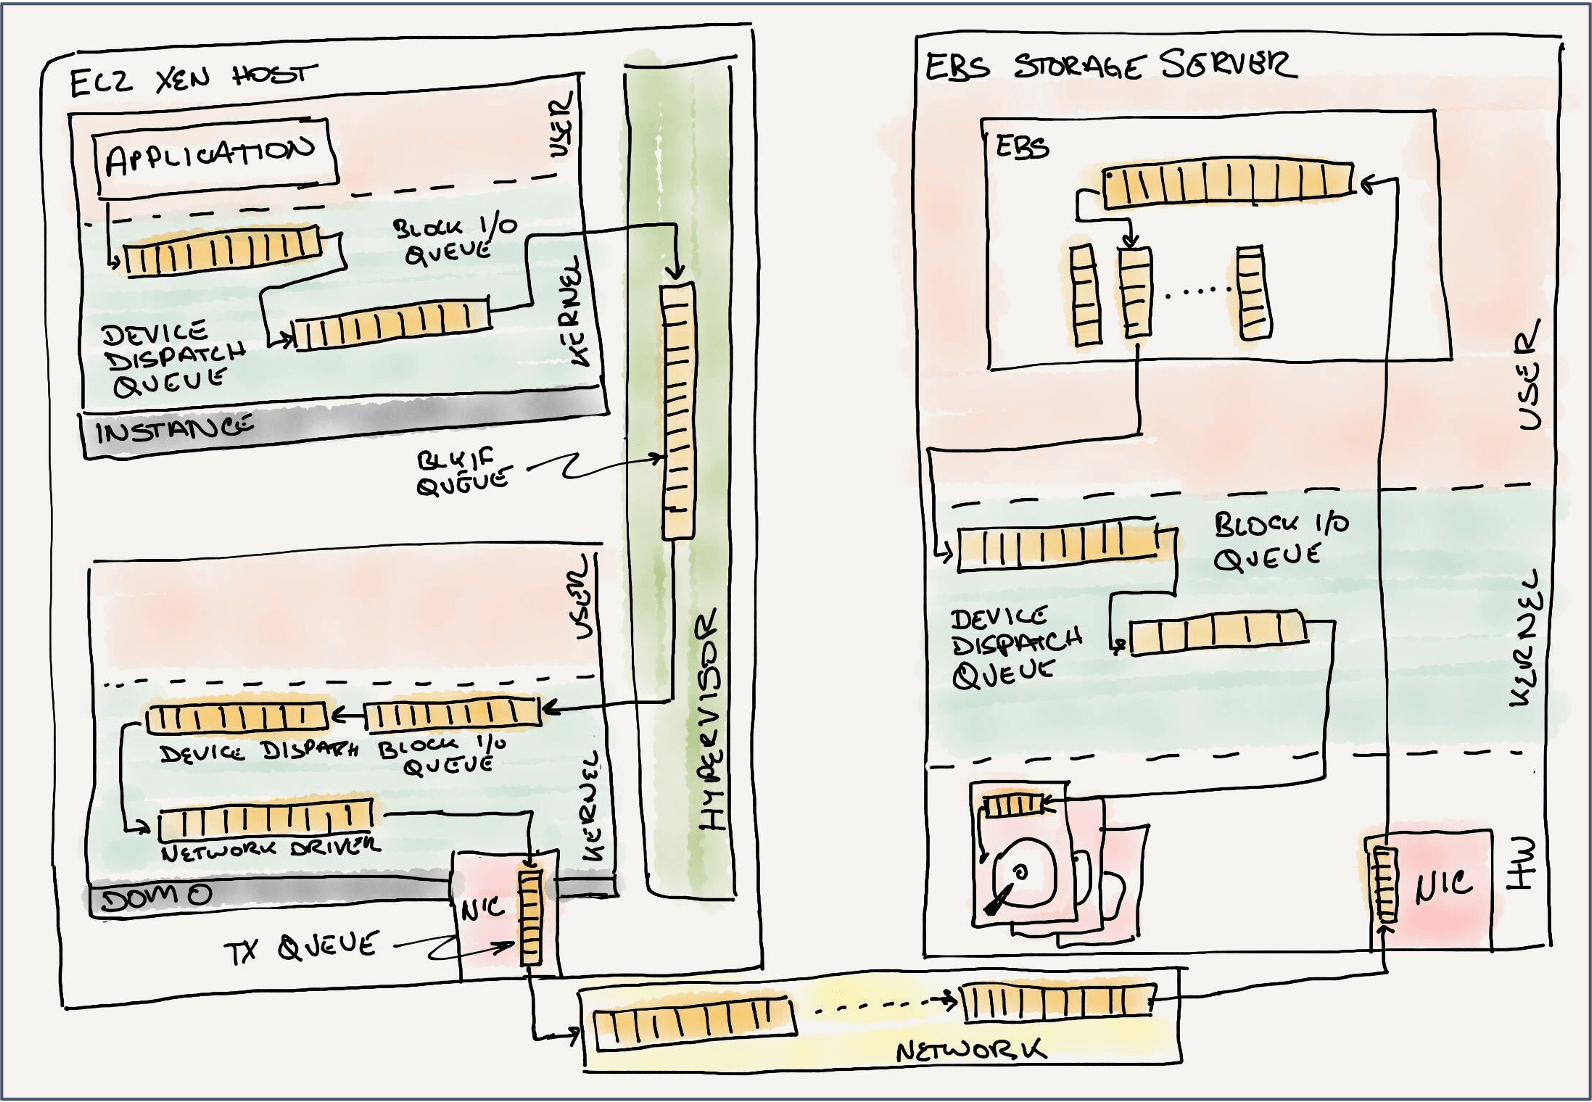
A brief history of block storage at AWS
Grafana Tempo 2.6 release: performance improvements and new TraceQL features
How to Manage Terraform S3 Backend – Best Practices
Leaked Env. Variables Allow Large-Scale Extortion Operation in Cloud Environments
Can sidecar-less Istio make your application faster?
You share. We listen. As always, send us feedback at [email protected]
Use Case
Docker Container Images Lazy Loading Explained
Docker's lazy loading and build cache are closely related concepts, and in many cases, the term "lazy loading" as we’ve been using it refers to Docker's build cache mechanism itself.
Let's understand these terms to clarify their relationship first.
Docker Build Cache:
The build cache is Docker’s primary mechanism for optimizing image builds. It stores intermediate image layers so that Docker doesn’t have to rebuild every layer from scratch each time.
Lazy Loading:
The term "lazy loading" in Docker applies to delaying the build of certain layers until necessary. However, the actual process of lazy loading in Docker leverages the build cache to avoid unnecessary rebuilds.
Lazy loading could refer to how Docker only rebuilds necessary layers during the build process, allowing it to defer unnecessary work.
For instance, when copying
requirements.txtfirst and installing dependencies, Docker can avoid rebuilding these layers unlessrequirements.txtchanges, effectively "loading lazily" only the necessary parts of the image.
Without Lazy Loading Vs With Lazy Loading

I created two Dockerfiles to demonstrate the difference between building Docker images with and without lazy loading.
Let’s compare the first build with the subsequent build to understand how caching and layer reuse work.
Without Lazy Loading:
Dockerfile
# Official Python image
FROM python:3.9-slim

# Set the working directory in the container
WORKDIR /app

# Copy the entire content of the current directory to the container
COPY . /app

# Install dependencies
RUN pip install --no-cache-dir -r requirements.txt

# Expose the app on port 5000
EXPOSE 5000

# Run the Flask app
CMD ["python", "app.py"]
Build Run

With Lazy Loading:
Dockerfile
# Official Python image
FROM python:3.9-slim

# Set the working directory in the container
WORKDIR /app

# Copy only the requirements file to leverage Docker cache for dependencies
COPY requirements.txt /app/

# Install dependencies
RUN pip install --no-cache-dir -r requirements.txt

# Now copy the rest of the app code
COPY . /app

# Expose the application on port 5000
EXPOSE 5000

# Run the Flask app
CMD ["python", "app.py"]
Build Run

Build Time Comparison:
For Linux users:
time docker build -t flask_app_without_lazy_loading -f Dockerfile.without_lazy_loading .

time docker build -t flask_app_with_lazy_loading -f Dockerfile.with_lazy_loading .
For Windows users:
Measure-Command { docker build -t flask_app_without_lazy_loading -f Dockerfile.without_lazy_loading . }

Measure-Command { docker build -t flask_app_with_lazy_loading -f Dockerfile.with_lazy_loading . }

You’ll notice that the Dockerfile.with_lazy_loading benefits from caching, especially during rebuilds, where dependencies don’t need to be reinstalled if they haven’t changed.
The build time decreased by approximately 39.65%
Remember, the key to faster build times lies in leveraging Docker's build cache effectively—by structuring your Dockerfile to take advantage of lazy loading, you minimize unnecessary rebuilds.
2024 is 69.67% complete.

Tool Of The Day
repo2vec - Chat with your codebase with 2 commands
Trends & Updates
Resources & Tutorials
Picture Of The Day

Did someone forward this email to you? Sign up here


